
Last month I posted about a set of science experiments on color that I did in my son's kindergarten class. This month I returned with another set of experiments to try, this time working with magnetism.
The classroom already has a few activities that involve magnets. My favorite is this floating magnetic ring set. It has disk magnets that can fit on a stand which also has a disc magnet in its base and a point sticking up from the base that will fit through the holes of the magnets- like a magnetic ring toss. Because the poles of the magnets are on the flat sides, they either attract or repel based on which sides you put together. By stacking the magnets so they are repelling each other they float. And giving a gentle push to the top one, you can make the magnets jump quite far into the air.
Because they had already talked about magnets in class some, I decided to try some experiments that took their understanding a bit further. We magnetized needles to create our own compasses and made electromagnets!
First we reviewed a bit. Magnets always have two poles, a north and a south, or put another way, a positive and a negative. They are magnetic because the free electrons within the atoms they are made of are all spinning in the same direction. This creates a magnetic field that attracts other substances that have free electrons that are easily adjusted based on that field, such as metals like iron.
 |
| Magnetizing a needle |
Here comes the fun part: You can make a magnet out of something that is attracted to a magnet, like a metal needle or a nail. We used embroidery needles. Hold the needle firmly at one end (for some of the kids it was easier to hold the needle against the table). Then take a magnet and stroke it down the needle, using only down strokes (pick it up and the end and start back at the top). Do not turn the magnet while you are doing this, but keep the poles aligned the same way with each stroke. Depending on the metal you are using and the strength of the magnet, this could take 50 strokes or 150. How does this work? The magnet being rubbed on one direction down the metal needle gradually
 pulls the electrons in the needle to have the same spin. The more times you rub the magnet along the needle and the stronger the magnet, the greater the amount of the metal atoms in the needle have the same spin, and the greater the strength of the magnetic field around the needle.
Test your new magnet with another piece of metal to see how strong it is. If you want to use it for a compass, it only needs a slight pull towards the metal.
 |
| Our magnetic needle compass |
The earth also has a weak magnetic field and magnetic north and south poles. The magnetic bar in a compass is attracted to the opposite poles of the earth, allowing it to find due north. To make a compass out of your new magnet needle, fill a bowl with water. Float a lightweight object like a bottle cap or a cork (in the pictures I used a milk jug lid) on top of the water. Carefully place your magnetic needle on top so it can spin. One end of the needle should point north and the other south. In the picture, you can see that I labelled a paper with the compass points for our demonstration.
So making a compass is pretty cool. And we learned about electrons moving in the same direction. Well, what else has electrons moving the the same direction? You guessed it...electricity! The current running through a wire wrapped around a nail will actually align the spins in those metal atoms in the same way that the magnet did with our needle, but this only happens while the current is flowing. Once the current stops, the magnetic field in our nail is gone again.
 To make an electromagnet, you will need a D cell battery, a piece or two of coated copper wire about 9-12" long with the ends stripped, an iron nail about 3" long, and electrical tape. First, coil the wire
  around the nail a few times. Depending on the gauge of your wire, this could be a big difficult. The wire we used was a bit on the thick side, I think. It doesn't matter whether the wire is coiled clockwise or counterclockwise, but the coils can't overlap each other. The more coils you make, the stronger your magnet will be. In our experiments we used a wire with 5 coils and a wire with 10 coils and tested each one.
Next, use electrical tape to attach the stripped ends of the wires to the battery. I found that the wires still tended to slip out from under the tape unless I held them. Be careful, the ends of the battery can get hot, so you won't want to hold them for too long! A pair of wooden tongs would have been a useful tool for this experiment.
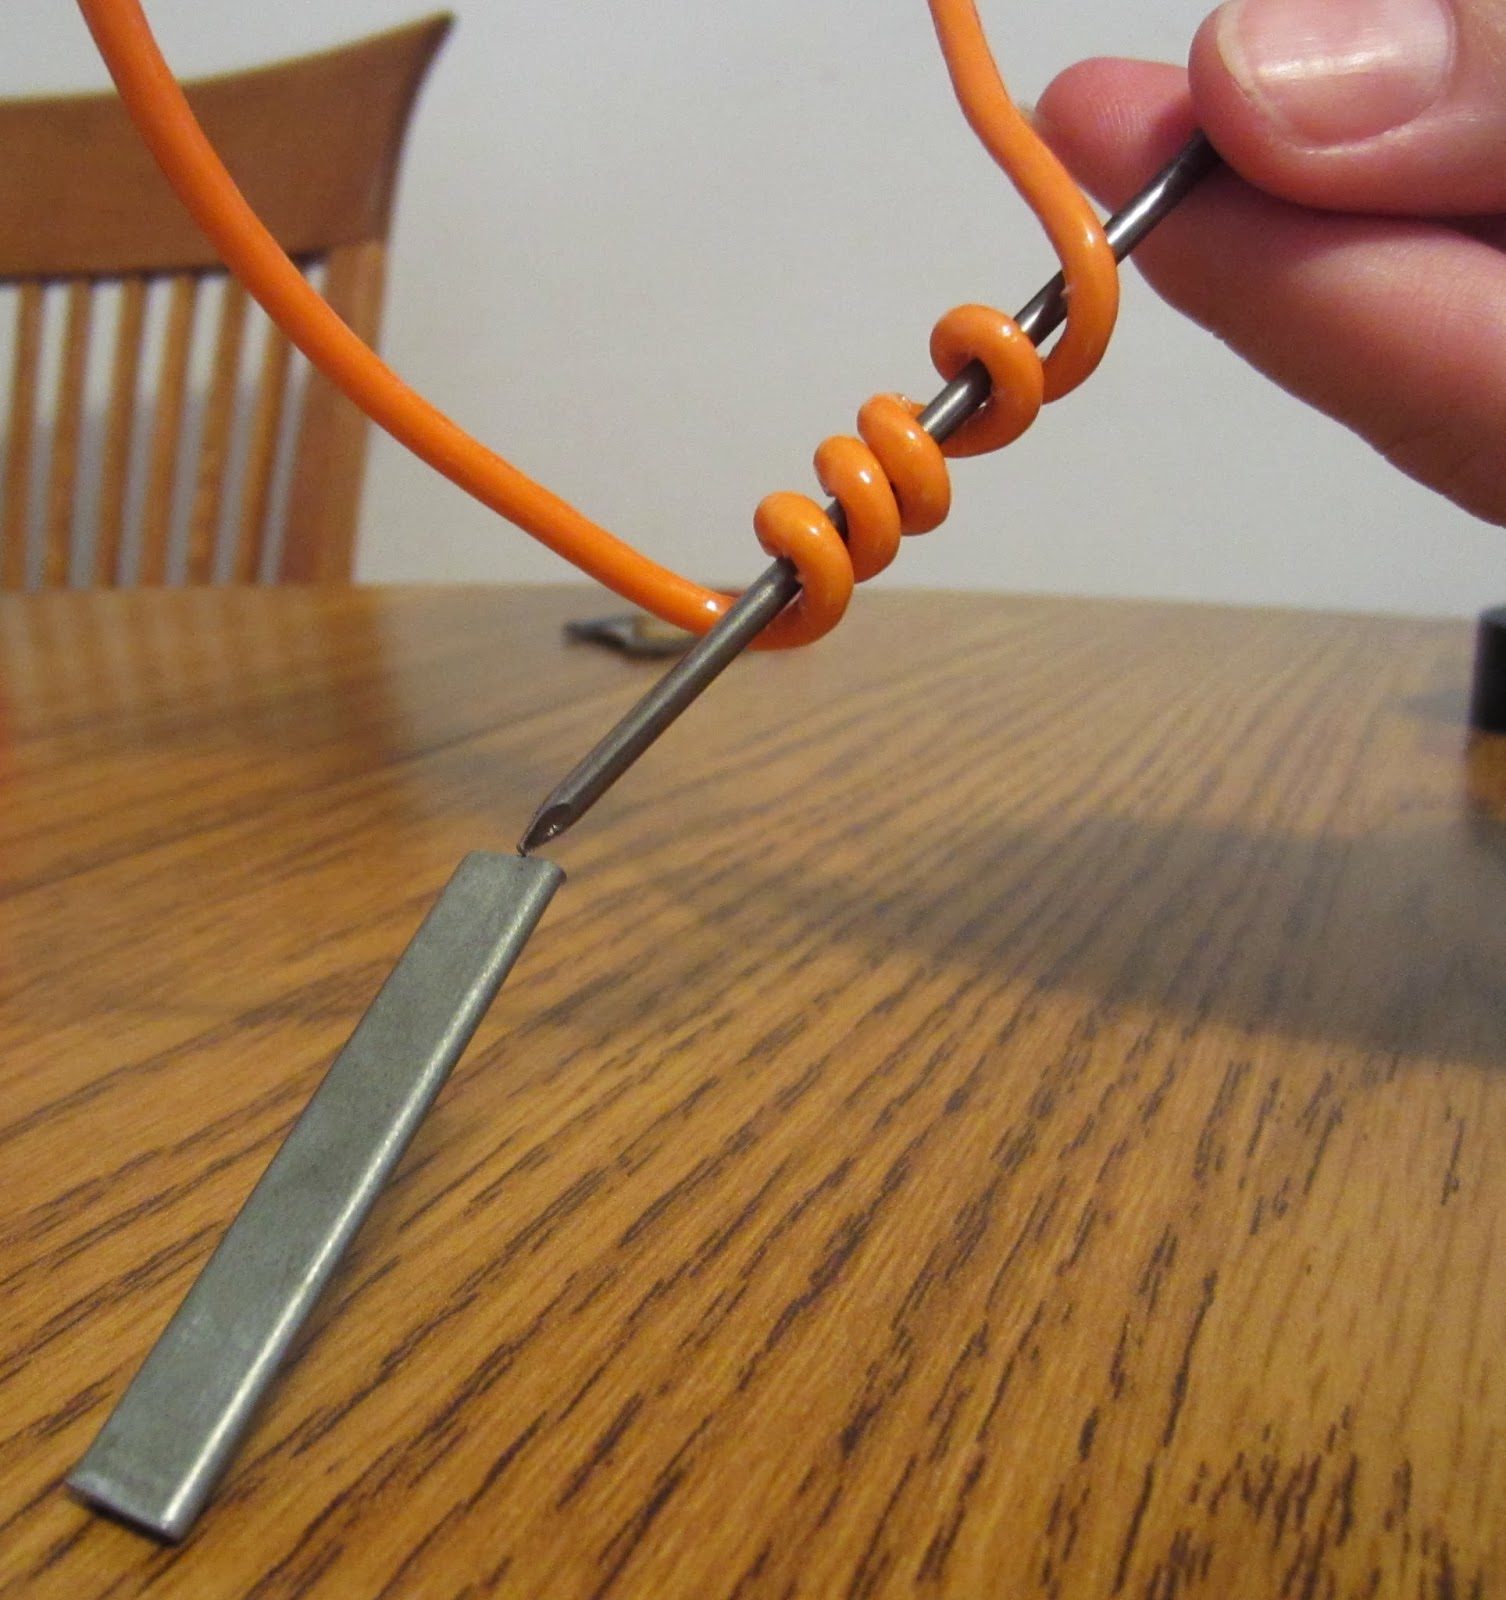
In our experiment, the wire coiled 5 times magnetized the nail enough to lift up the end of this small piece of metal, but not enough to pick it up off of the table. (See picture to the left.)

But when we used the wire coiled 10 times, the magnetized nail was strong enough to lift the piece of metal off the table and hold it suspended in the air. How cool is that!? (See picture to the right.) It also got hot a lot faster. We also tried connecting two batteries in sequence to the 5 coil wire. It seemed somewhat stronger than with only one battery, but not as strong as the wire with more coils.
The kids had a lot of fun with this one, and I did too. I'm not sure what the next science day will hold, but I'm sure it'll be interesting. And now, where did they put that floating magnetic ring set? I want to make some magnets fly!


